By default in Windows Server 2016 the Windows Firewall is configured to block all inbound ICMP traffic. This includes requests that are common from ping, which can make network troubleshooting difficult.
So to enable ping, you won't need to disable the firewall in your VPS, the guide will show how to only allow the specific rules required to allow ping to succeed.
How to allow ping through Windows Firewall?
- Firstly, connect to your VPS via RDP and open Windows Firewall.
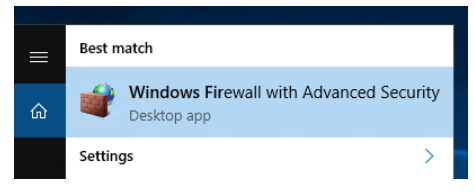
- Click on the Windows key to open start, then type Windows firewall. As shown below Windows Firewall with Advanced Security should show, so click this:
- After Windows Firewall window will be opened, select Inbound Rules from the menu on the left.
- From the rules listed under Inbound Rules, click on File and printer Sharing (Echo Request – ICMPv4-In) and enable the rule.
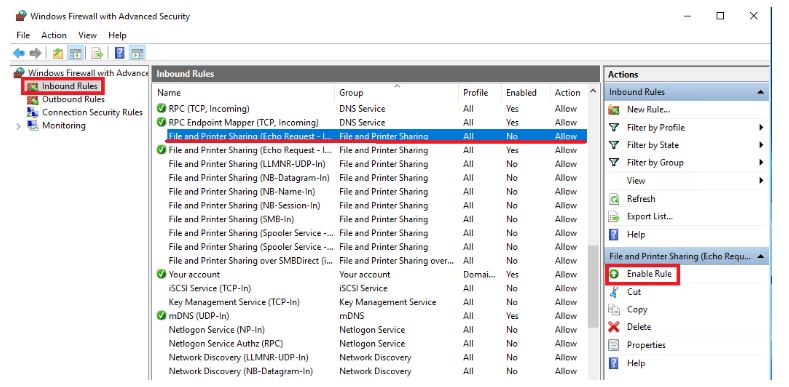
Note: It only allows IPv4 requests in, if you need IPv6 then you will need to enable the File and Printer Sharing (Echo Request – ICMPv6-In) rule.
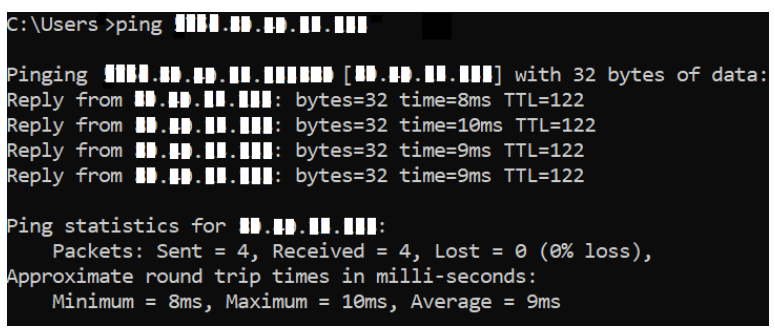
- Now the server should now respond to ping requests:
Note: If you want to disable ping, just change from Enable Rule to Disable Rule.