Introduction
phpMyAdmin is a popular free and open-source tool written in PHP for administering MySQL and MariaDB using a browser. The web interface makes working with databases easier and faster than through the console.
In this guide, we will install phpMyAdmin on CentOS 7.
Prerequisites
Before you install phpMyAdmin, make sure the following software is installed on your server:
Installation guide
1. Install EPEL
Install EPEL release by running the following command:
yum install epel-release
The EPEL repository contains additional packages, including phpMyAdmin. So now you can proceed with the installation of phpMyAdmin.
2. Install PhpMyAdmin
To install phpMyAdmin, run this command:
yum install phpmyadmin
3. Configure Access To PhpMyAdmin
To connect phpMyAdmin remotely, edit the configuration file. This will allow access from specific IP addresses.
To open the phpMyAdmin configuration file, run this command:
vi /etc/httpd/conf.d/phpMyAdmin.conf
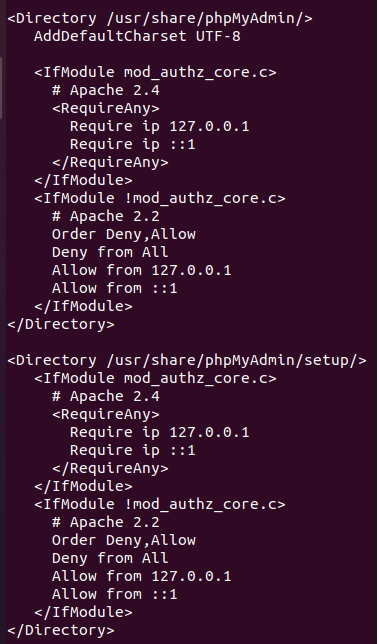
Inside file, find these lines:

You need 'require ip' and 'allow' lines:
Require ip 127.0.0.1
and
Allow from 127.0.0.1
Both lines ('require ip' and 'allow') are repeated twice.
You should modify them and specify your workstation IP address (write the actual IP instead of "your_ip").
require ip your_ip
...
allow from your_ip
Then save the file and exit (pres "Esc", then type :wq and click "Enter").
4. Restart Apache
After you modified the configurations file, make sure to restart Apache:
systemctl restart httpd
5. Check Access To PhpMyAdmin
To access phpMyAdmin, in your web browser enter your server IP address and then /phpmyadmin:
server_ip/phpmyadmin
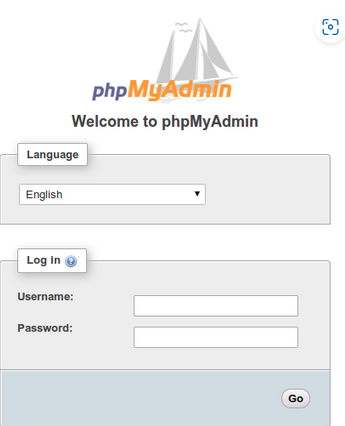
If everything is correct, you will see the phpMyAdmin login page where you can enter your MySQL user credentials:

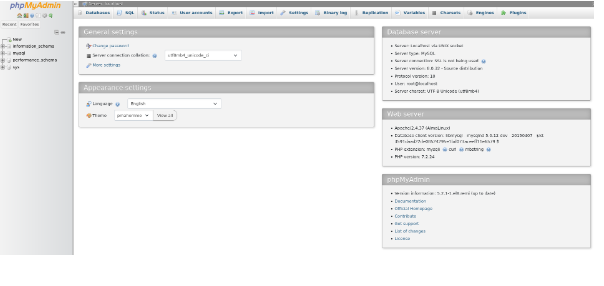
You're all set. Now, you can work with your databases via phpMyAdmin.

Please note. If you still can't access the phpMyAdmin page, be sure to double-check the configuration file again. You may have entered something incorrectly inside this file, or you may not have modified all the required lines.